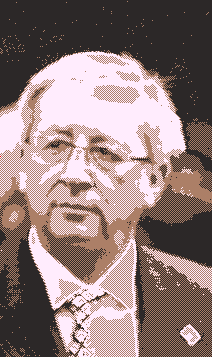
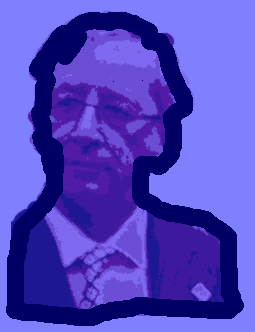
Open a jpeg picture of person's head. Convert to grey and make the
document 'indexed'
Go to menu...
Effects > Greyscale (Gamma corrected)
Image > Convert to Indexed
_________________________________________________
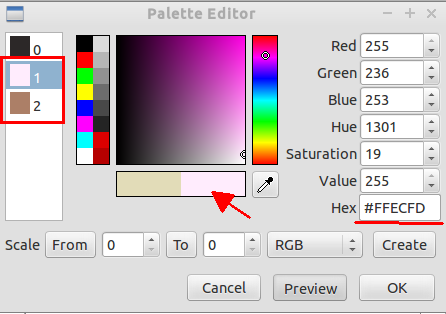
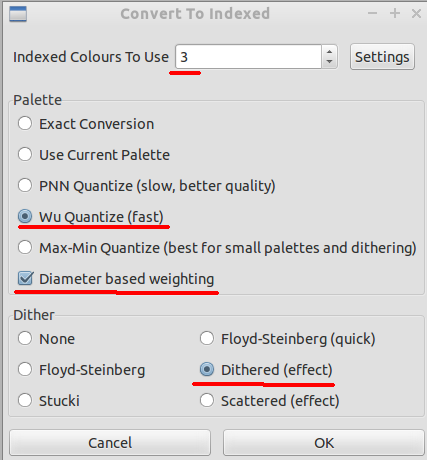
Reduce the number of colors to just 3 indexed colors. Go to menu...
Image > Convert to Indexed
Recommended options for best quality-->
Wu Quantize(Diameter based weighting)
dithered
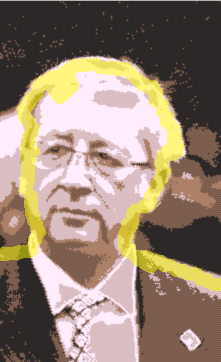
If you wish you can use black paintbrush to blacken the background
behind the head.
For more editing you must return image back to RGB i.e. 24 bit color
Image > Convert to RGB
_____________________________________________________
Tip : to continue to edit with a paint brush the go to menu...
Pallette > Load Default
You will now have access to more colors in your pallette.
You will be able to modify the image with any color imaginable!
_____________________________________________
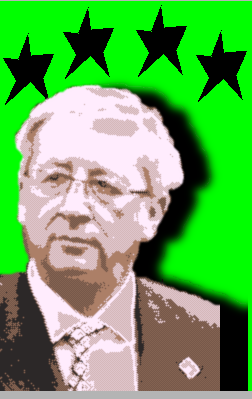
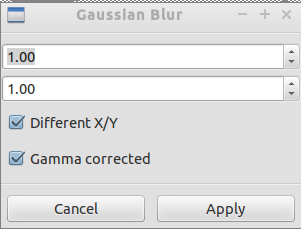
To reduce the dithered look a gaussian blur is needed.
For a Gaussian blur of 1 go to menu...
Effects > Gaussian Blur
_______________________________________________________
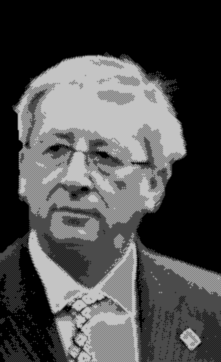
To give more contrast go to menu and adjust contrast and gamma
Effects > Transform Color...
Here is final image suitable for book cover
_______________________________________________